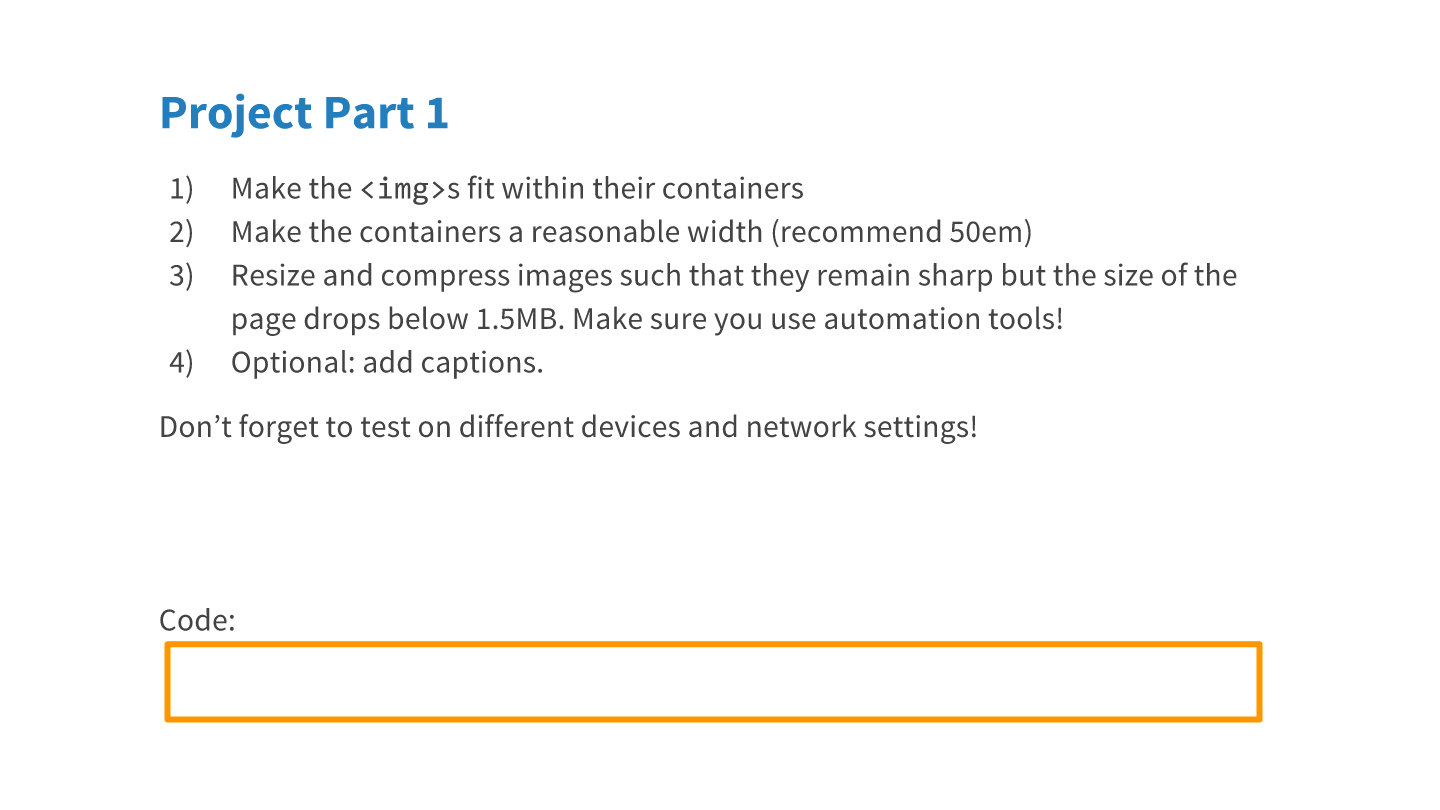
16. Project Part 1
Project Part 1
Question:
Start Quiz:
Solution:
INSTRUCTOR NOTE:
Download the project files here.*
Make sure to run your project through localhost. For Mac/Linux cd to your work directory and set up a simple HTTP server. For Windows, see below.
Make sure you are running the Udacity Feedback Chrome Extension to get feedback.
Open the console to see the total size of all of your images!
Learn more about the figure tag!
Setting up Build Process
Before you start automating your build process with tools like ImageMagick or ImageOptim, you will first need to install Node.js. Node.js is a JavaScript runtime built on Chrome's V8 JavaScript engine. It also comes with a package manager, npm, that gives you access to thousands of code packages, like Grunt, that you can use in your projects. Make sure you've installed Node.js and updated npm. Then, use the links below to finish setting up your build process.
ImageMagick:
- ImageMagick
- Simple ImageMagick installer for Mac
- GraphicsMagick (a fork of ImageMagick)
Grunt:
- Getting started with Grunt
- Grunt for People Who Think Things Like Grunt are Weird and Hard
- Generate multi-resolution images with Grunt
- Grunt plugin for generating multiple images
Files used in scripting examples:
- convert.sh (includes instructions)
- Gruntfile.js (remove line 7,
engine: 'im',on Windows) - Imager.js: responsive image loading developed for BBC News
Image processing tools:
- ImageOptim (Mac only)
- Trimage - Similar to ImageOptim (Windows, Mac, Linux)
- ImageAlpha
Feel Free to follow this article to learn more about running localhost on windows. If the article is unhelpful please follow the advice below
Student ("James") suggested instructions for running localhost on windows:
First you must turn on IIS:
Start>Control Panel>Programs>Turn Windows features on or off
The Windows Features box will appear. It may take a while for it to load
Scroll down and find Internet Information Services and ensure the box is clicked. Underneath that is Internet Information Services Hostable Web Core. Click that box as well.
Second you must open the Internet Information Services (IIS) Manager and configure IIS
Click the Start button and type IIS in the search bar
Click on Internet Information Services (IIS) Manager to open
In the left Connections pane click the little arrowhead to open the tree and right click on the Sites folder
Click Add Web Site
Give the site a name, and add the path to the folder where your website is located.
Go to the IP address and click the drop down. Find the IP address (ex. 192.168.0.92). (write this down somewhere. I put it as comments in my html and css files)
Pick a port. I don't recommend using port 80 but any other should do. I used 90
click ok.
Third, set read permissions on the website folder
Right-click on the folder your website is kept on and click on properties
Go to the security tab and scroll through Group or user names and look for the following:
IUSR and IIS_IUSRS
If they are there, be sure that "read & execute" and "read" are checked. If they are there and not checked click on on of them and then click edit. check the box for read & execute and read. Click apply then click ok.
If they are not there then click edit and then Add. This brings up the Select Users or Groups box.
Click the Advanced Button and then the Find Now button. Scroll down until you find IIS_IUSRS. Click on it and press OK 2 times. Click apply.
Repeat for IUSR
To bring up website on local host
Open Chrome and type in the IP address and port like this:
192.168.0.142:90 (or whatever your port number is)
I hope this helps. Good luck
Student ("Alexander") also recommends this video for Windows Setup:
https://www.youtube.com/watch?v=A_0SqnOPSng
Changing security/permissions for IIS* files/folders
*Microsoft Internet Information Services (IIS)
Feel Free to follow this article to learn more about running localhost on windows. If the article is unhelpful you are welcome to try Fenix to quickly host your project or you can give the advice below a try.
Download the project here instead!
For the Project Part 1 Tests, 3rd item "Page bytes are under 1.5MB (refresh to update)" will work properly if you run your own webserver.
From your terminal (mac/linux):
- change directories to where your index.html file is
- run a web server, such as python -m SimpleHTTPServer 8080
- view the page, going to this URL http://localhost:8080/